


Exterra Precision
Precision Hunter Remington 700, Long Action, 20MOA
Precision Hunter Remington 700, Long Action, 20MOA
Couldn't load pickup availability
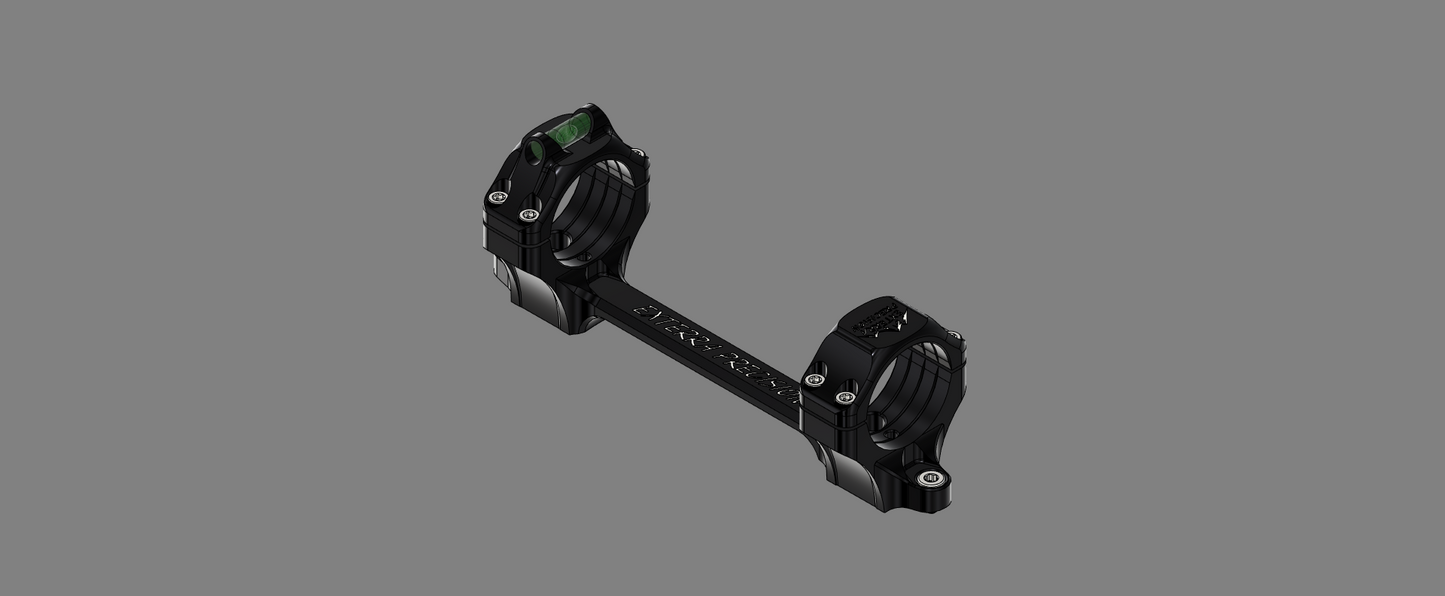
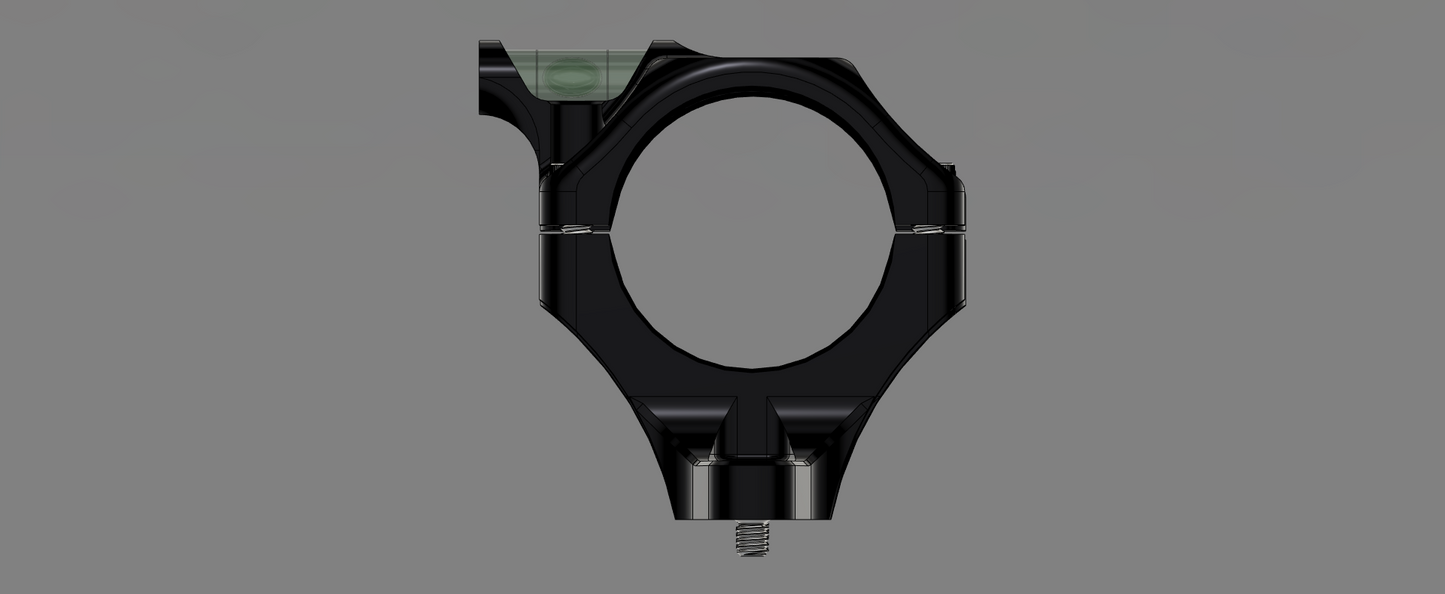
Exterra Precision, one piece, direct mount, Remington 700, long action, 20MOA, scope rings.
Remington 700 Precision Hunter mounts are made from aerospace grade 7075 aluminum, with 17-4 H900 mounting fasteners to better withstand repeated use in heavy recoil situations.
Share



MONOLITHIC SCOPE BASE ASSEMBLY INSTRUCTIONS: REMINGTON 700
STEP ONE: Remove all components from the
protective foam packaging. Take special care to remove and keep the four
6-48 Shoulder Screws (ITEM #5).
STEP TWO: Unscrew the eight 6-32 Socket Headed
Cap Screws (ITEM #4) from the scope caps and set them aside.

STEP THREE (RIFLE PREP): Make sure your rifle
is unloaded and remove the bolt. It may be necessary to remove the small
plastic screws that are installed by the factory in the top of the rifle
action. On certain rifles, the 6-48 threads on the top of the action are
undersized due to the coating process. It may be necessary to chase the
threads with a 6-48 tap. Clean the treads and top of the action with
Isopropyl Alcohol (IPA) or another suitable degreasing agent.
STEP FOUR (SCOPE BASE PREP): Clean the bottom of the
Base (ITEM #1) and all of the screw threads on the Base Screws (ITEM # 5)
using IPA.
STEP FIVE (SCOPE BASE INSTALL): Place the scope
base on the rifle action. Install the four 6-48 Shoulder Screws
(ITEM #5) finger tight through the holes in the scope base into the rifle
action. These are an extremely tight tolerance fit, so use care on the
alignment and threading. Torque the four 6-48 Shoulder Screws (ITEM #5,
QTY4) to approximately 5 Inch Pounds using a 1/8” Allen Key. Lastly
re-torque the four 6-48 Shoulder Screws (ITEM #5, QTY4) to 35 Inch Pounds.
STEP 6 (ROUGHING IN SCOPE POSITION): Place the
scope into the scope base roughly in the position you like. Place the
scope ring tops (ITEM #2 and ITEM #3) in the appropriate location.
Degrease the eight 6-32 Socket Headed Cap Screws (ITEM 4, QTY 4) and lightly
install them into the scope ring tops, keeping the gap between the scope cap
and scope base even from left to right. At this point the scope should be
just tight enough to slide and rotate, but not loose enough to move on its own.
STEP 7 (SETTING EYE RELIEF): There are
countless methods of setting eye relief and leveling scopes on the internet,
this is the method we use. Shoulder the rifle in your natural standing
position and have another person slide the scope forward or back until you get
the fullest image possible (smallest black ring around the outside of the
image), make a mark on the scope tube with pencil at this location.
Repeat this at the highest and lowest power on the scope to ensure that it is
correct. Repeat the procedure in a sitting and prone position. The
average of all of these pencil marks should be a good compromise for your eye
relief. If you are going to always be shooting from one position, it is
okay to bias your eye relief to that position. Once this location is
established make a distinct pencil mark.
STEP 8 (LEVELING) In order to shoot accurately at long
range the vertical stadia of the scope must be absolutely plumb. This
should be done by leveling the rifle in a vise or on a bipod using a spirit
level on a flat portion of the rifle or scope base, then leveling the scope
using a plumb line or vertical line on the wall. Again, there are
countless videos and tools online for accomplishing this task. We won’t
bore you with our opinions.
STEP 9 (TORQUING SCOPE CAPS) This is the most critical portion of the assembly process. Set your torque wrench to 10 in-lbs and tighten the scope cap screws using the following pattern:

Ensure that the gap between the scope ring tops and the scope ring base remains even (.040”). Once the screws are torqued to 10 in-lbs, repeat the process at the appropriate final torque specified by the scope manufacturer. (The maximum torque allowed varies by the scope manufacturer depending on scope tube thickness and material quality. On some light duty or light weight scopes, this can be as low as 15 in-lbs. On more robust scopes this can be as high as 27 in-lbs. Over torquing ring screws with any scope mounting system can damage the scope and interfere with function. Under torquing the screws can lead to scope movement and for accuracy to suffer. We recommend starting with the lowest torque suggested by the scope manufacturer and judiciously increasing the torque only as needed to suit the rifle/scope combination and expected usage. Going above the scope manufacturer’s recommended torque can damage your scope and void your warranty; do so at your own risk. We frequently place a small dab of nail polish or paint marker at the scope to ring interface and on the screws to visually confirm that they are not moving during the sight in process.)